Managing Python versions and packages with `uv`
Last year, I set a goal for myself to build more demos in Python as a way to learn the language. I focused mostly on building, but not really on building efficiently. I didn't take the time to learn the tooling ecosystem beyond what was installed by default on my computer. A couple of those demos had conflicting Python versions and subsequently conflicting dependency versions. Then I realized I was missing out on some sort of Python version manager to flip between Python versions, isolating project dependencies.
I've used rvm, rbenv, nvm, asdf for Ruby and Node and I (barely) knew of pyenv for Python. So I started digging in and found that uv was the tool I was looking for.
uv:
🔹 replaces a bunch of the python tools like pip, pyenv, venv, and more
🔹 manages Python versions, easily flip between them or pin one in a directory
🔹 manages projects with dependencies, environments, and lockfiles
🔹 executes and installs tools like ruff for linting
🔹 and more
Let's check it out!
Install uv
To install uv, you can follow the instructions here.
Install a specific version of Python
I already have a system install of Python, but I know I want a different version, so I install a specific version like this:
uv python install 3.12
And then I can show which versions are installed with the list command
uv python list
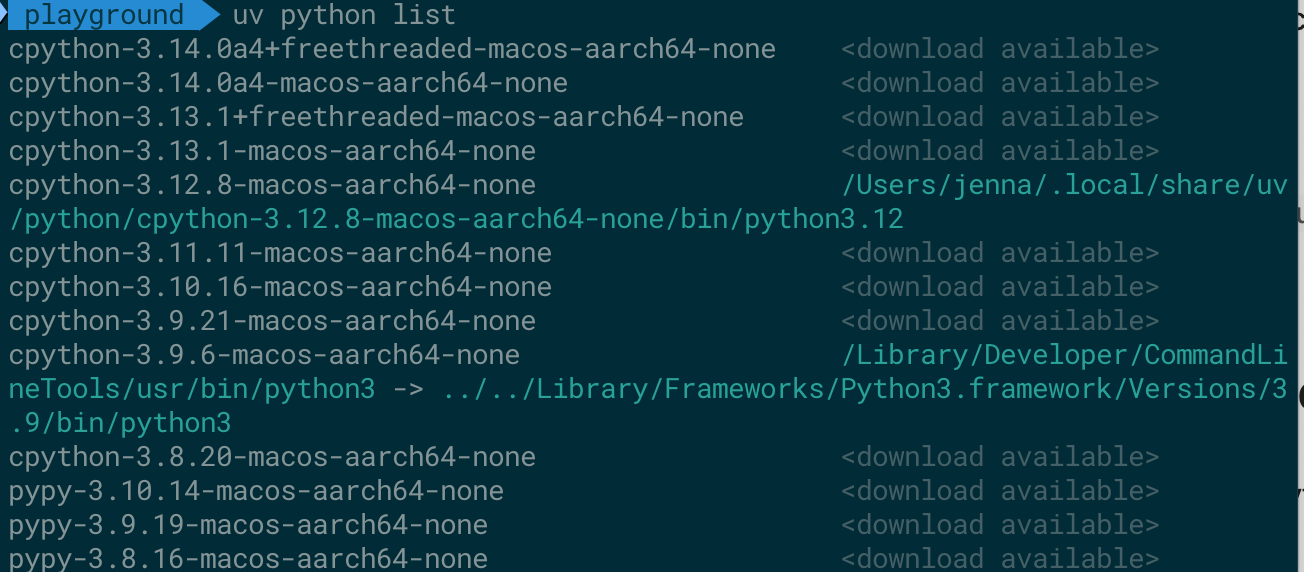
What's cool here is that uv will even use the system installed version of Python if that's what my project calls for.
Initializing a project
Now I can initialize my Python project with the init command:
uv init hello-world
And the basic project structure is created for me:
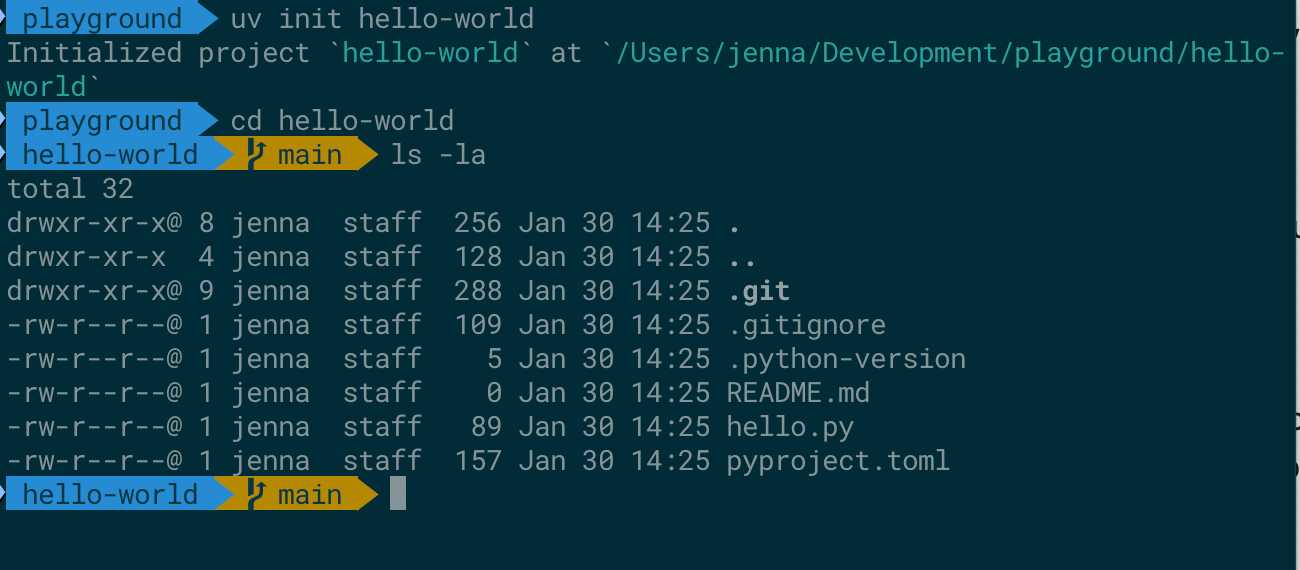
Here I've got a git repo containing the typical .gitignore file and a README.md file as well as a .python-version file that pins the version for this directory:
3.12
And the pyproject.toml file to hold metadata about the project (including dependencies):
[project]
name = "hello-world"
version = "0.1.0"
description = "Add your description here"
readme = "README.md"
requires-python = ">=3.12"
dependencies = []
As soon as I execute the run a command in that project (to run the app), I'll get a virtual environment (.venv) and a uv.lock file, locking the project dependencies.
uv run hello.py
Where the uv.lock file contains:
version = 1
requires-python = ">=3.12"

[[package]]
name = "hello-world"
version = "0.1.0"
source = { virtual = "." }
Adding a dependency
At some point you'll need to add a project dependency, because you're probably building something bigger than hello world. Here's how you do that:
uv add dependency-name
It gets added to the pyproject.toml file in the dependencies block:
[project]
name = "hello-world"
version = "0.1.0"
description = "Add your description here"
readme = "README.md"
requires-python = ">=3.12"
dependencies = [
    "requests>=2.32.3",
]
And then updates the lock file and virtual environment.
Wrapping up
In this post, I showed you why it's important to be able to manage your Python versions and project dependencies and how the uv too can help you out. I hope this has been helpful. If you'd like more like this, hit the like button 👍, share this with your friends 👯, or drop a comment below 💬.